Tutorial for Procreate
Beginner Lesson
Explore the depths of digital art.
1. Getting Oriented in Procreate
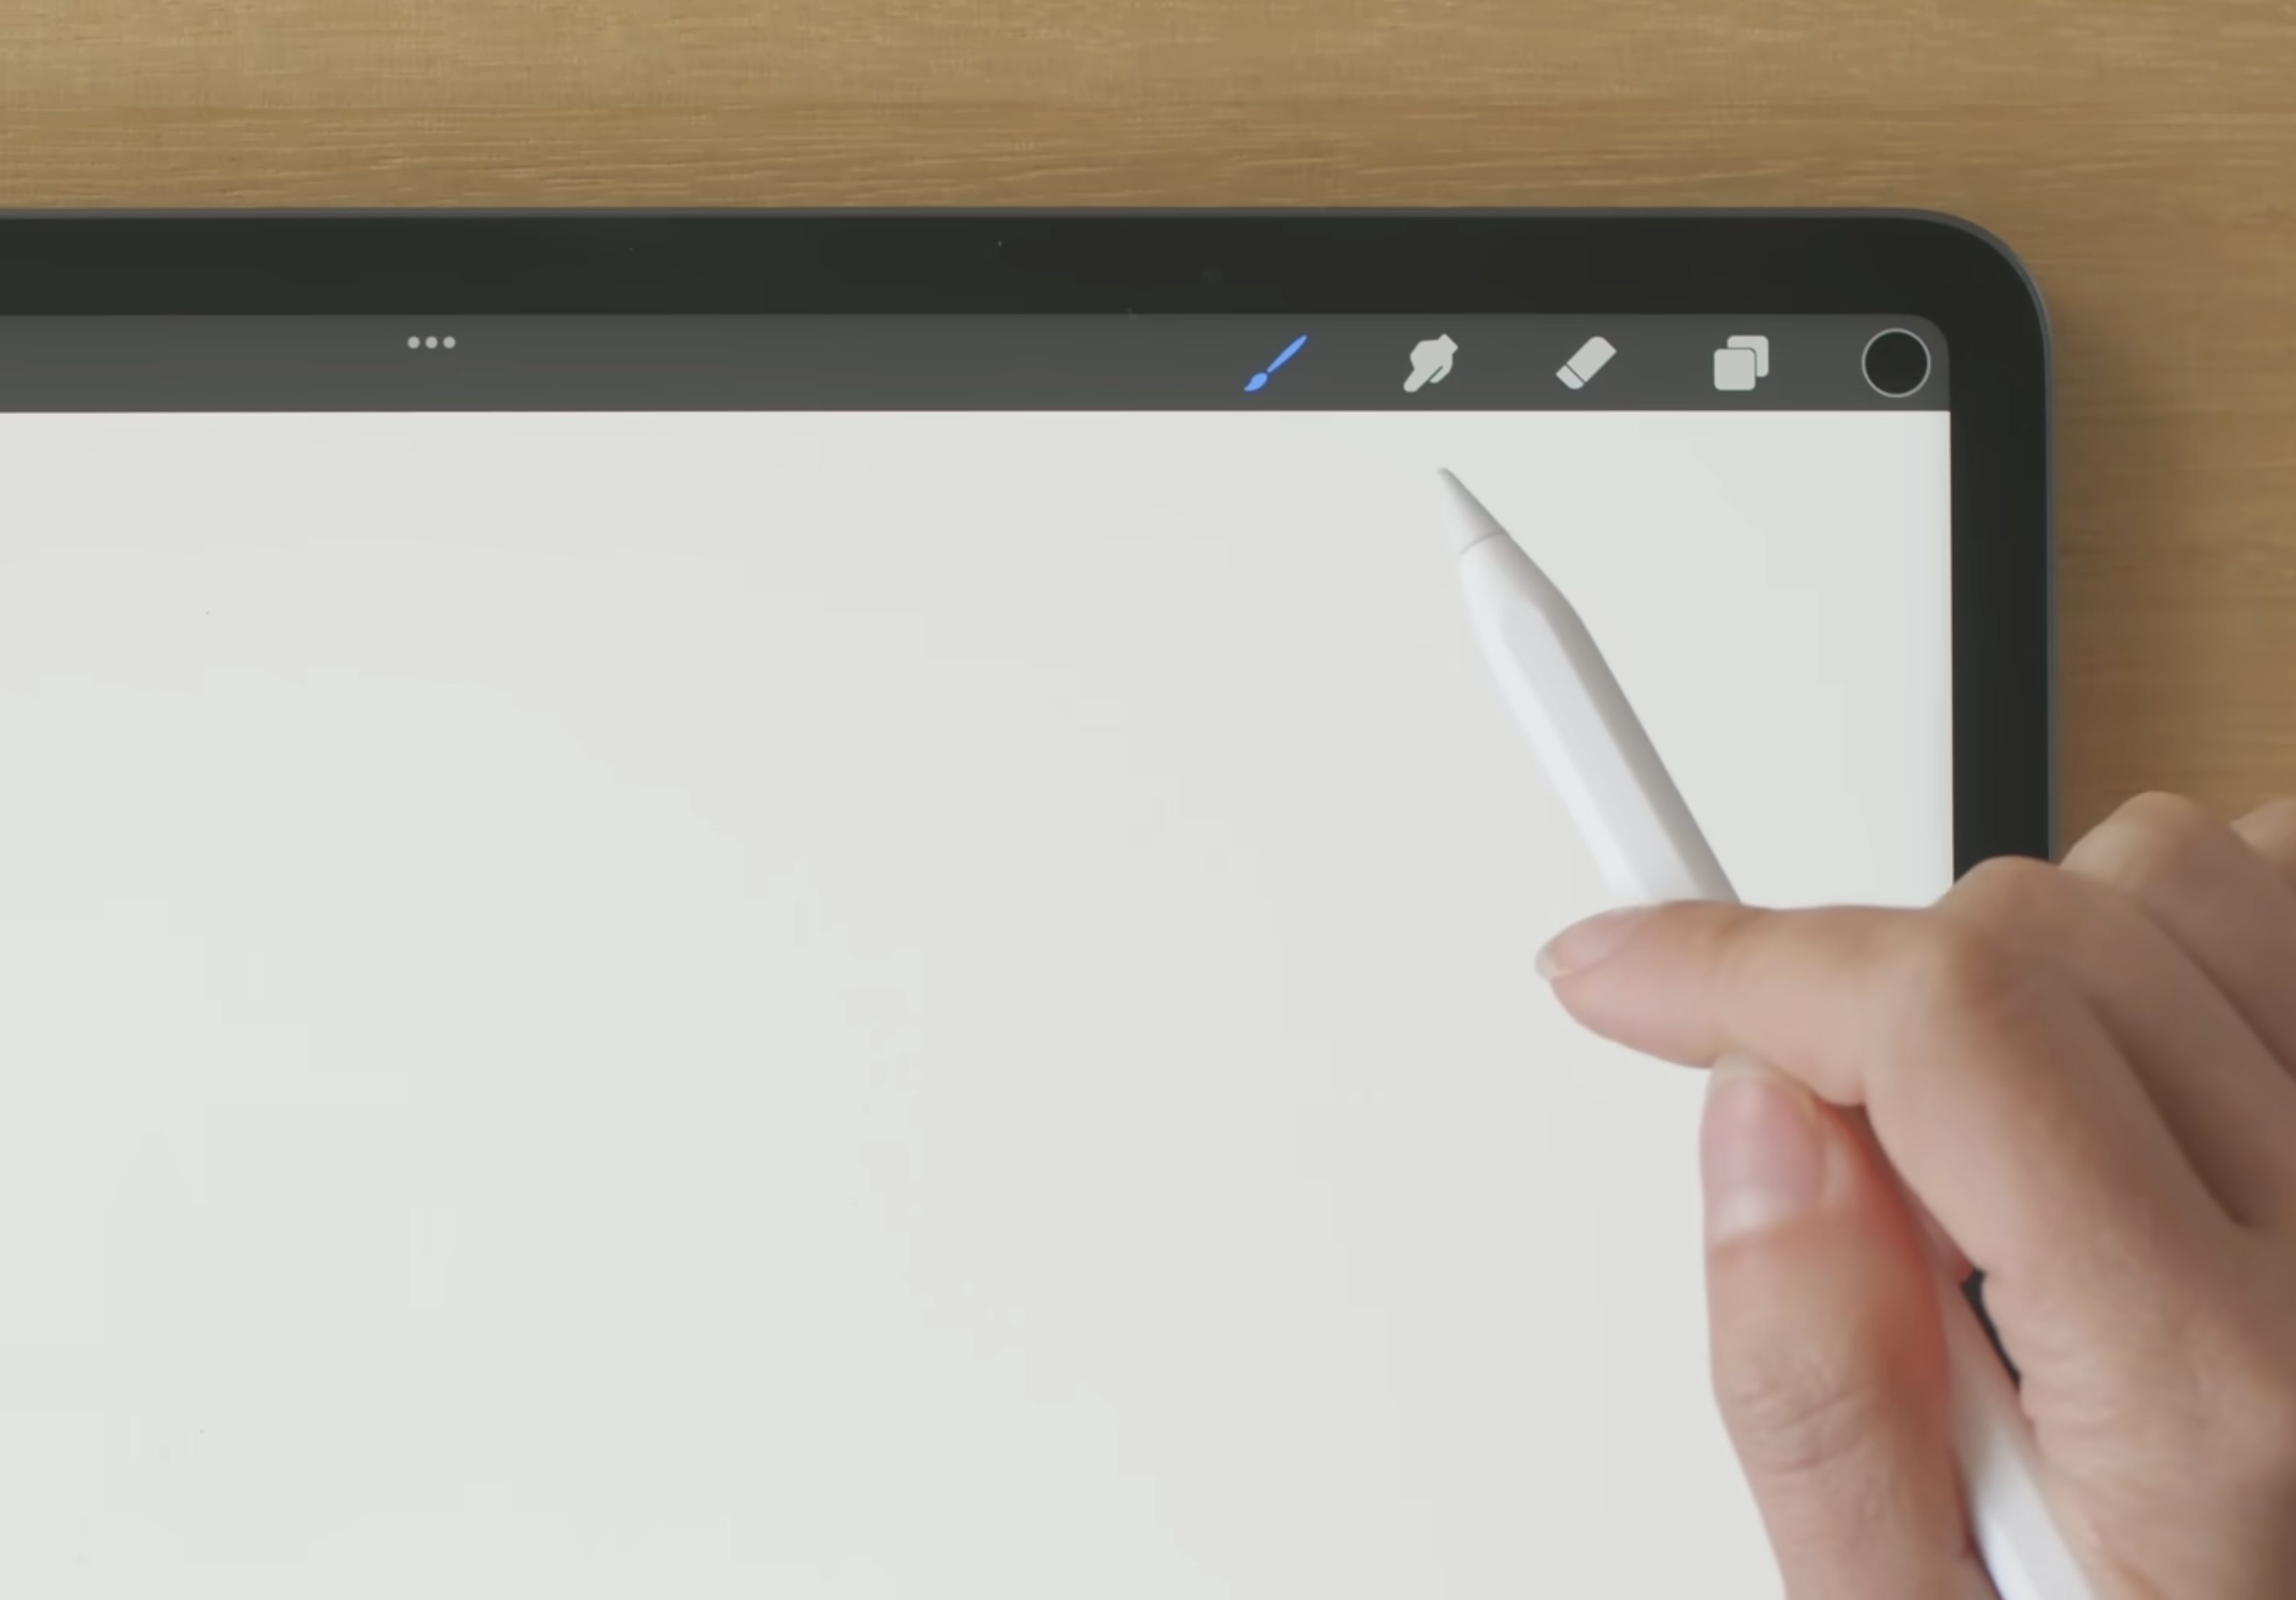
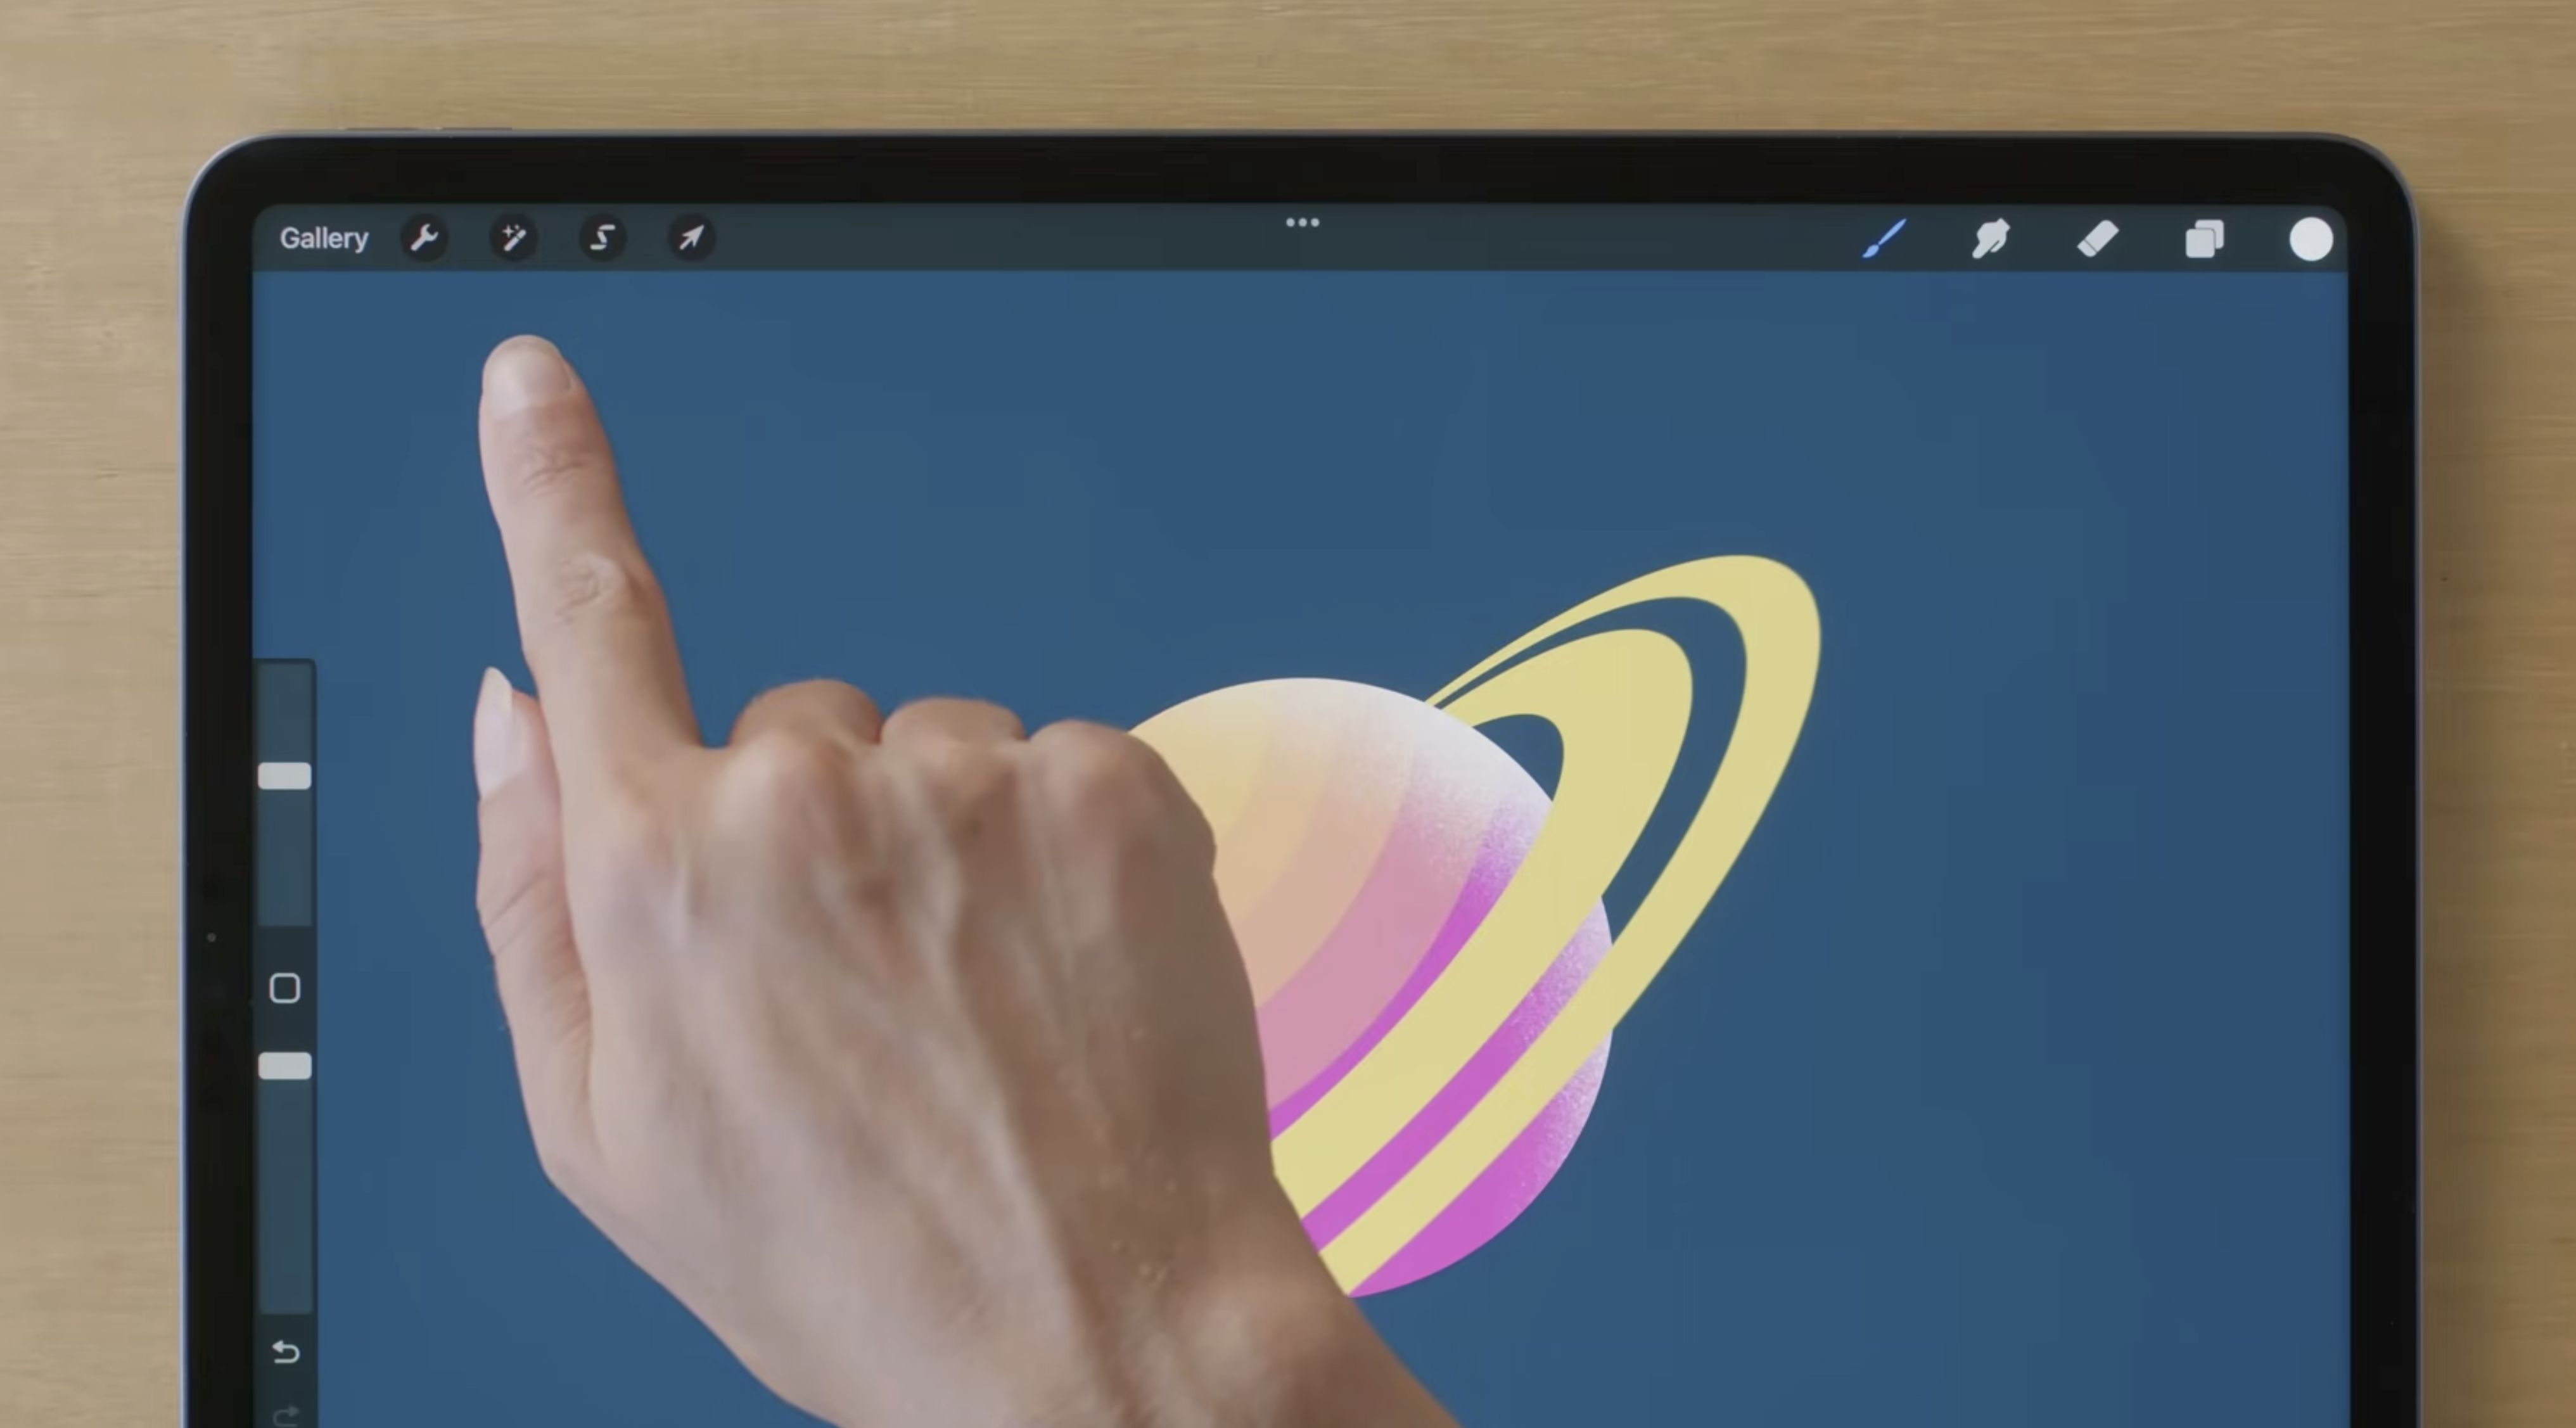
- When you open a canvas, the main tools are located along the top bar of the screen.
- The left side of the screen controls brush size and opacity.
- The right side of the screen is where you’ll find layers, color, and brush settings.
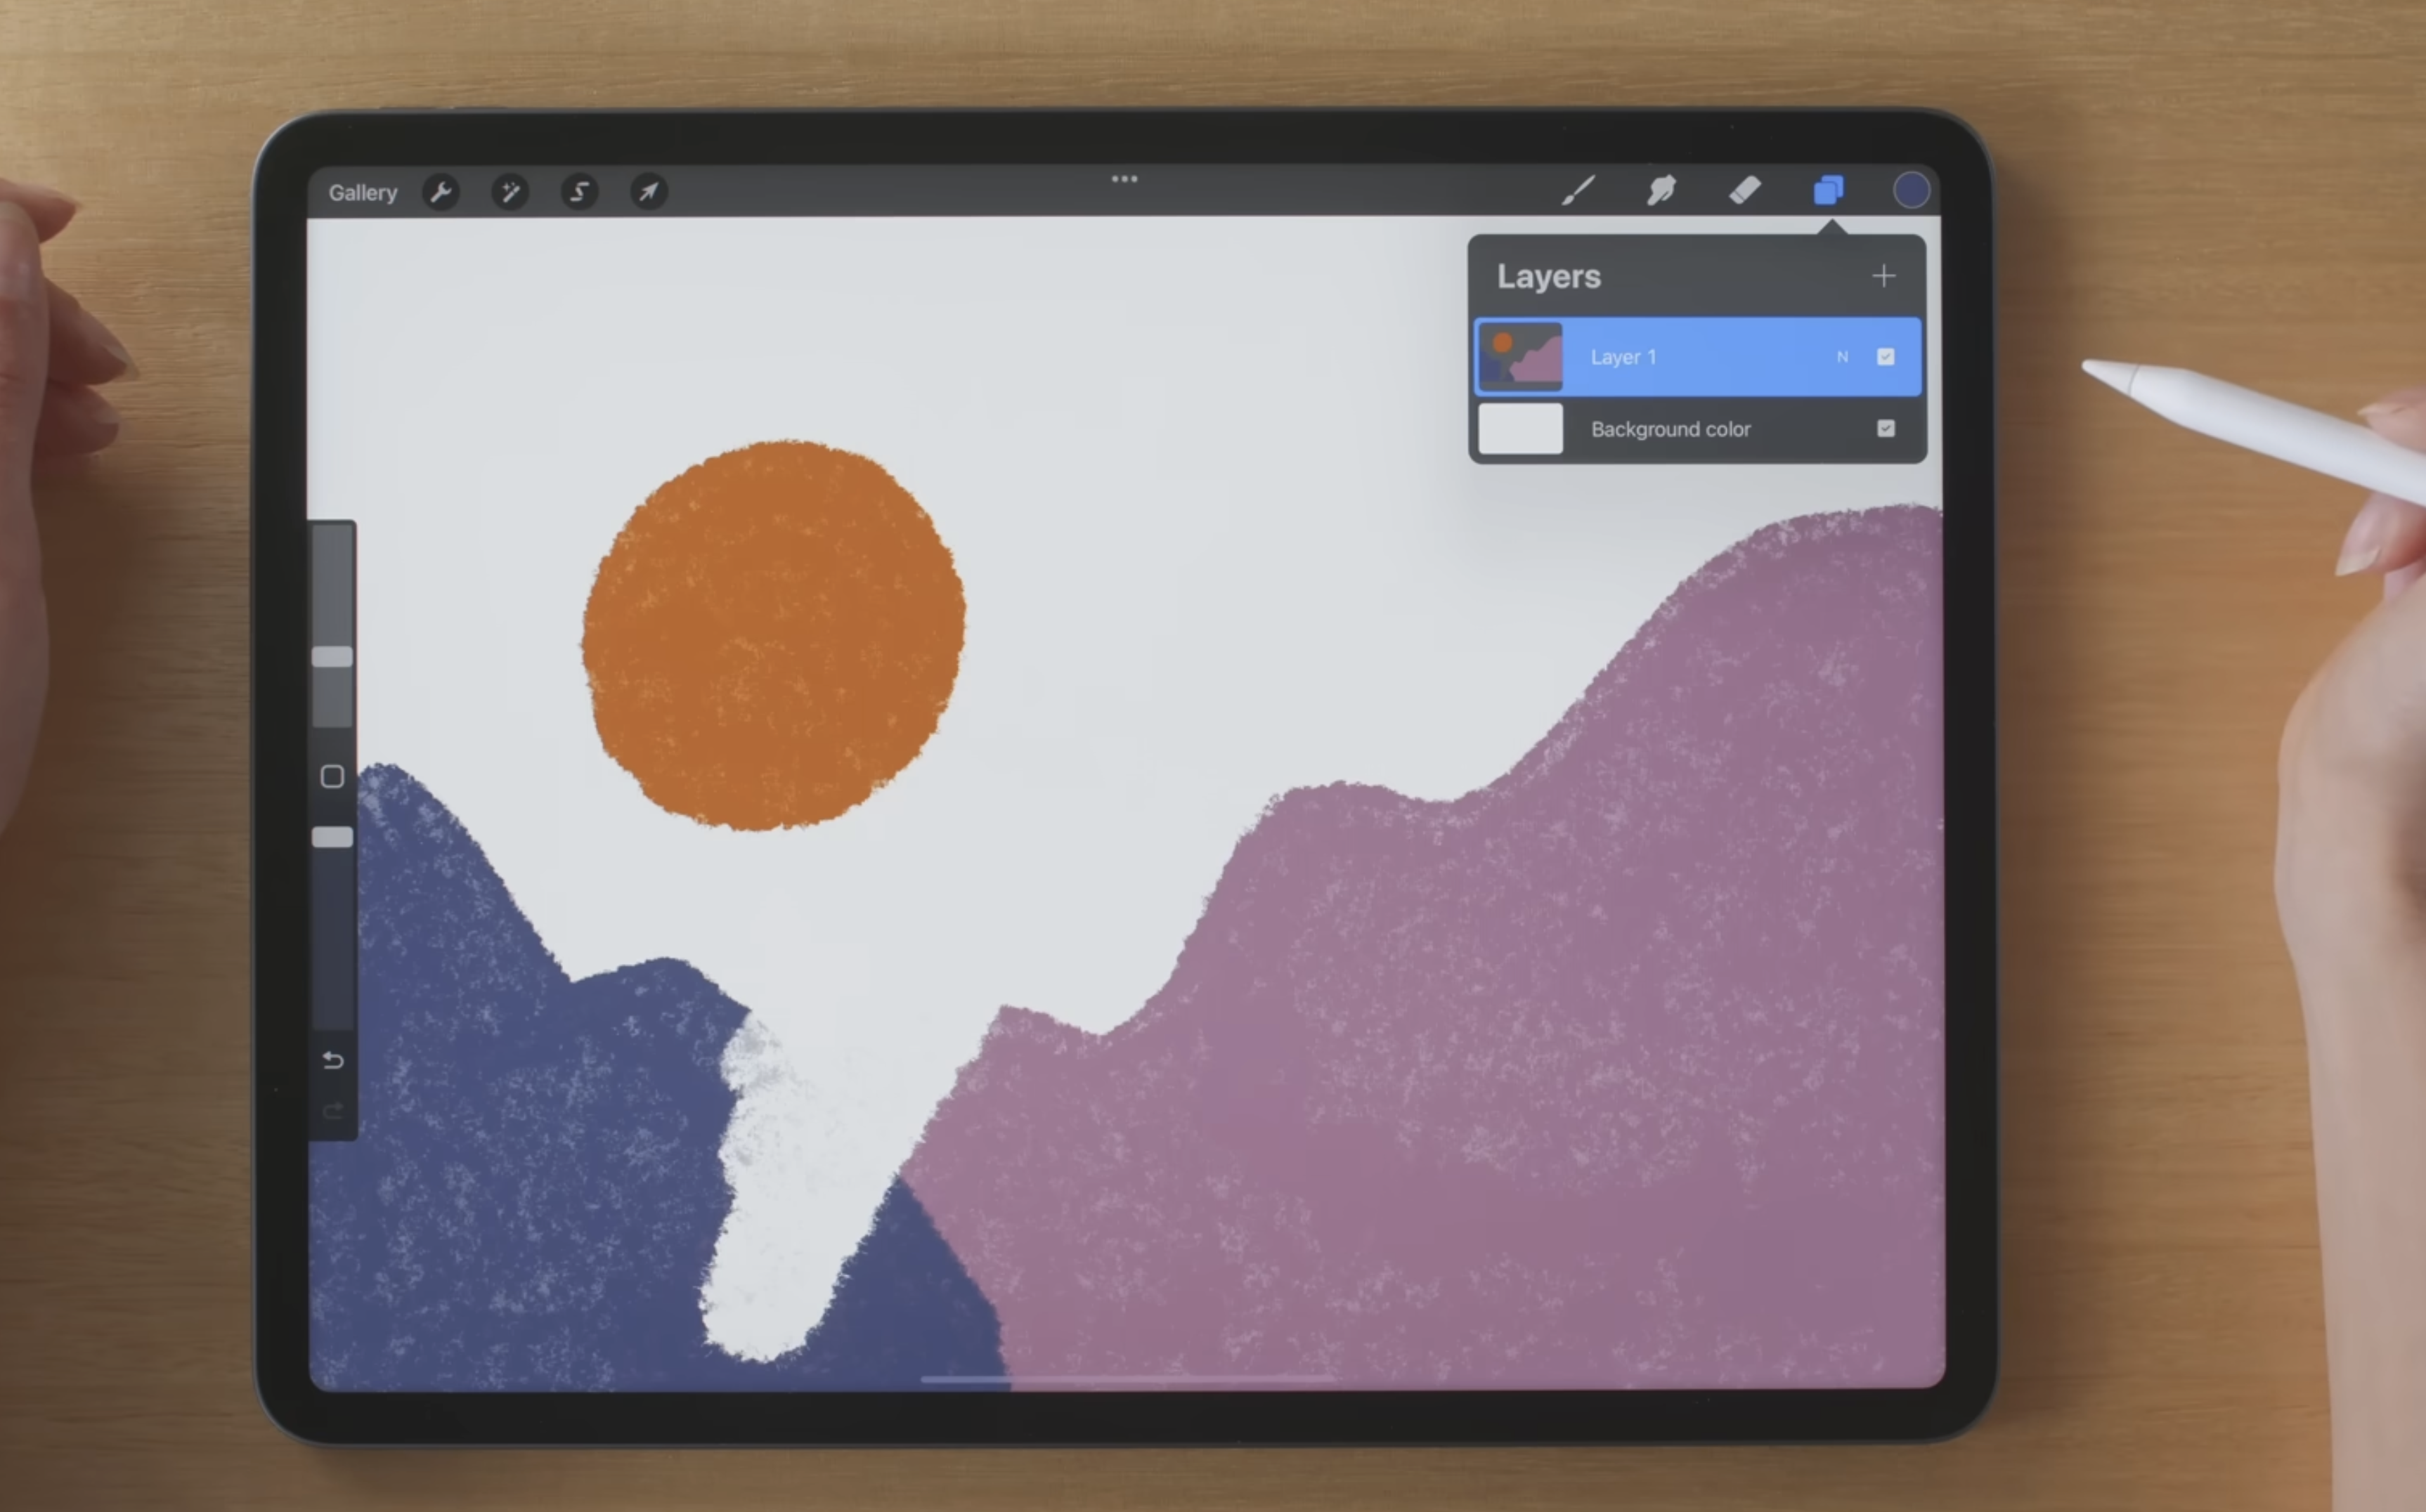
2. Layers: Where They Are and How They Work
- Tap the Layers icon (two overlapping squares) in the top-right corner.
- Each layer appears as a stacked list. Tap a layer to select it.
- Swipe left on a layer to reveal options like Lock, Duplicate, and Delete.
Grouping Layers
- In the Layers panel, swipe right on multiple layers to select them.
- Tap Group at the top of the Layers panel to keep drawings organized.
3. Background and Foreground
- The background color is controlled by the “Background color” layer at the bottom of the Layers panel.
- Layers higher in the list appear in the foreground.
- Reordering layers changes what appears in front or behind.
4. Brushes
- Tap the Brush icon (paintbrush) in the top-right corner to open the library.
- Brushes are organized into categories such as Sketching, Inking, and Painting.
- Adjust size and opacity using the sliders on the left side of the screen.
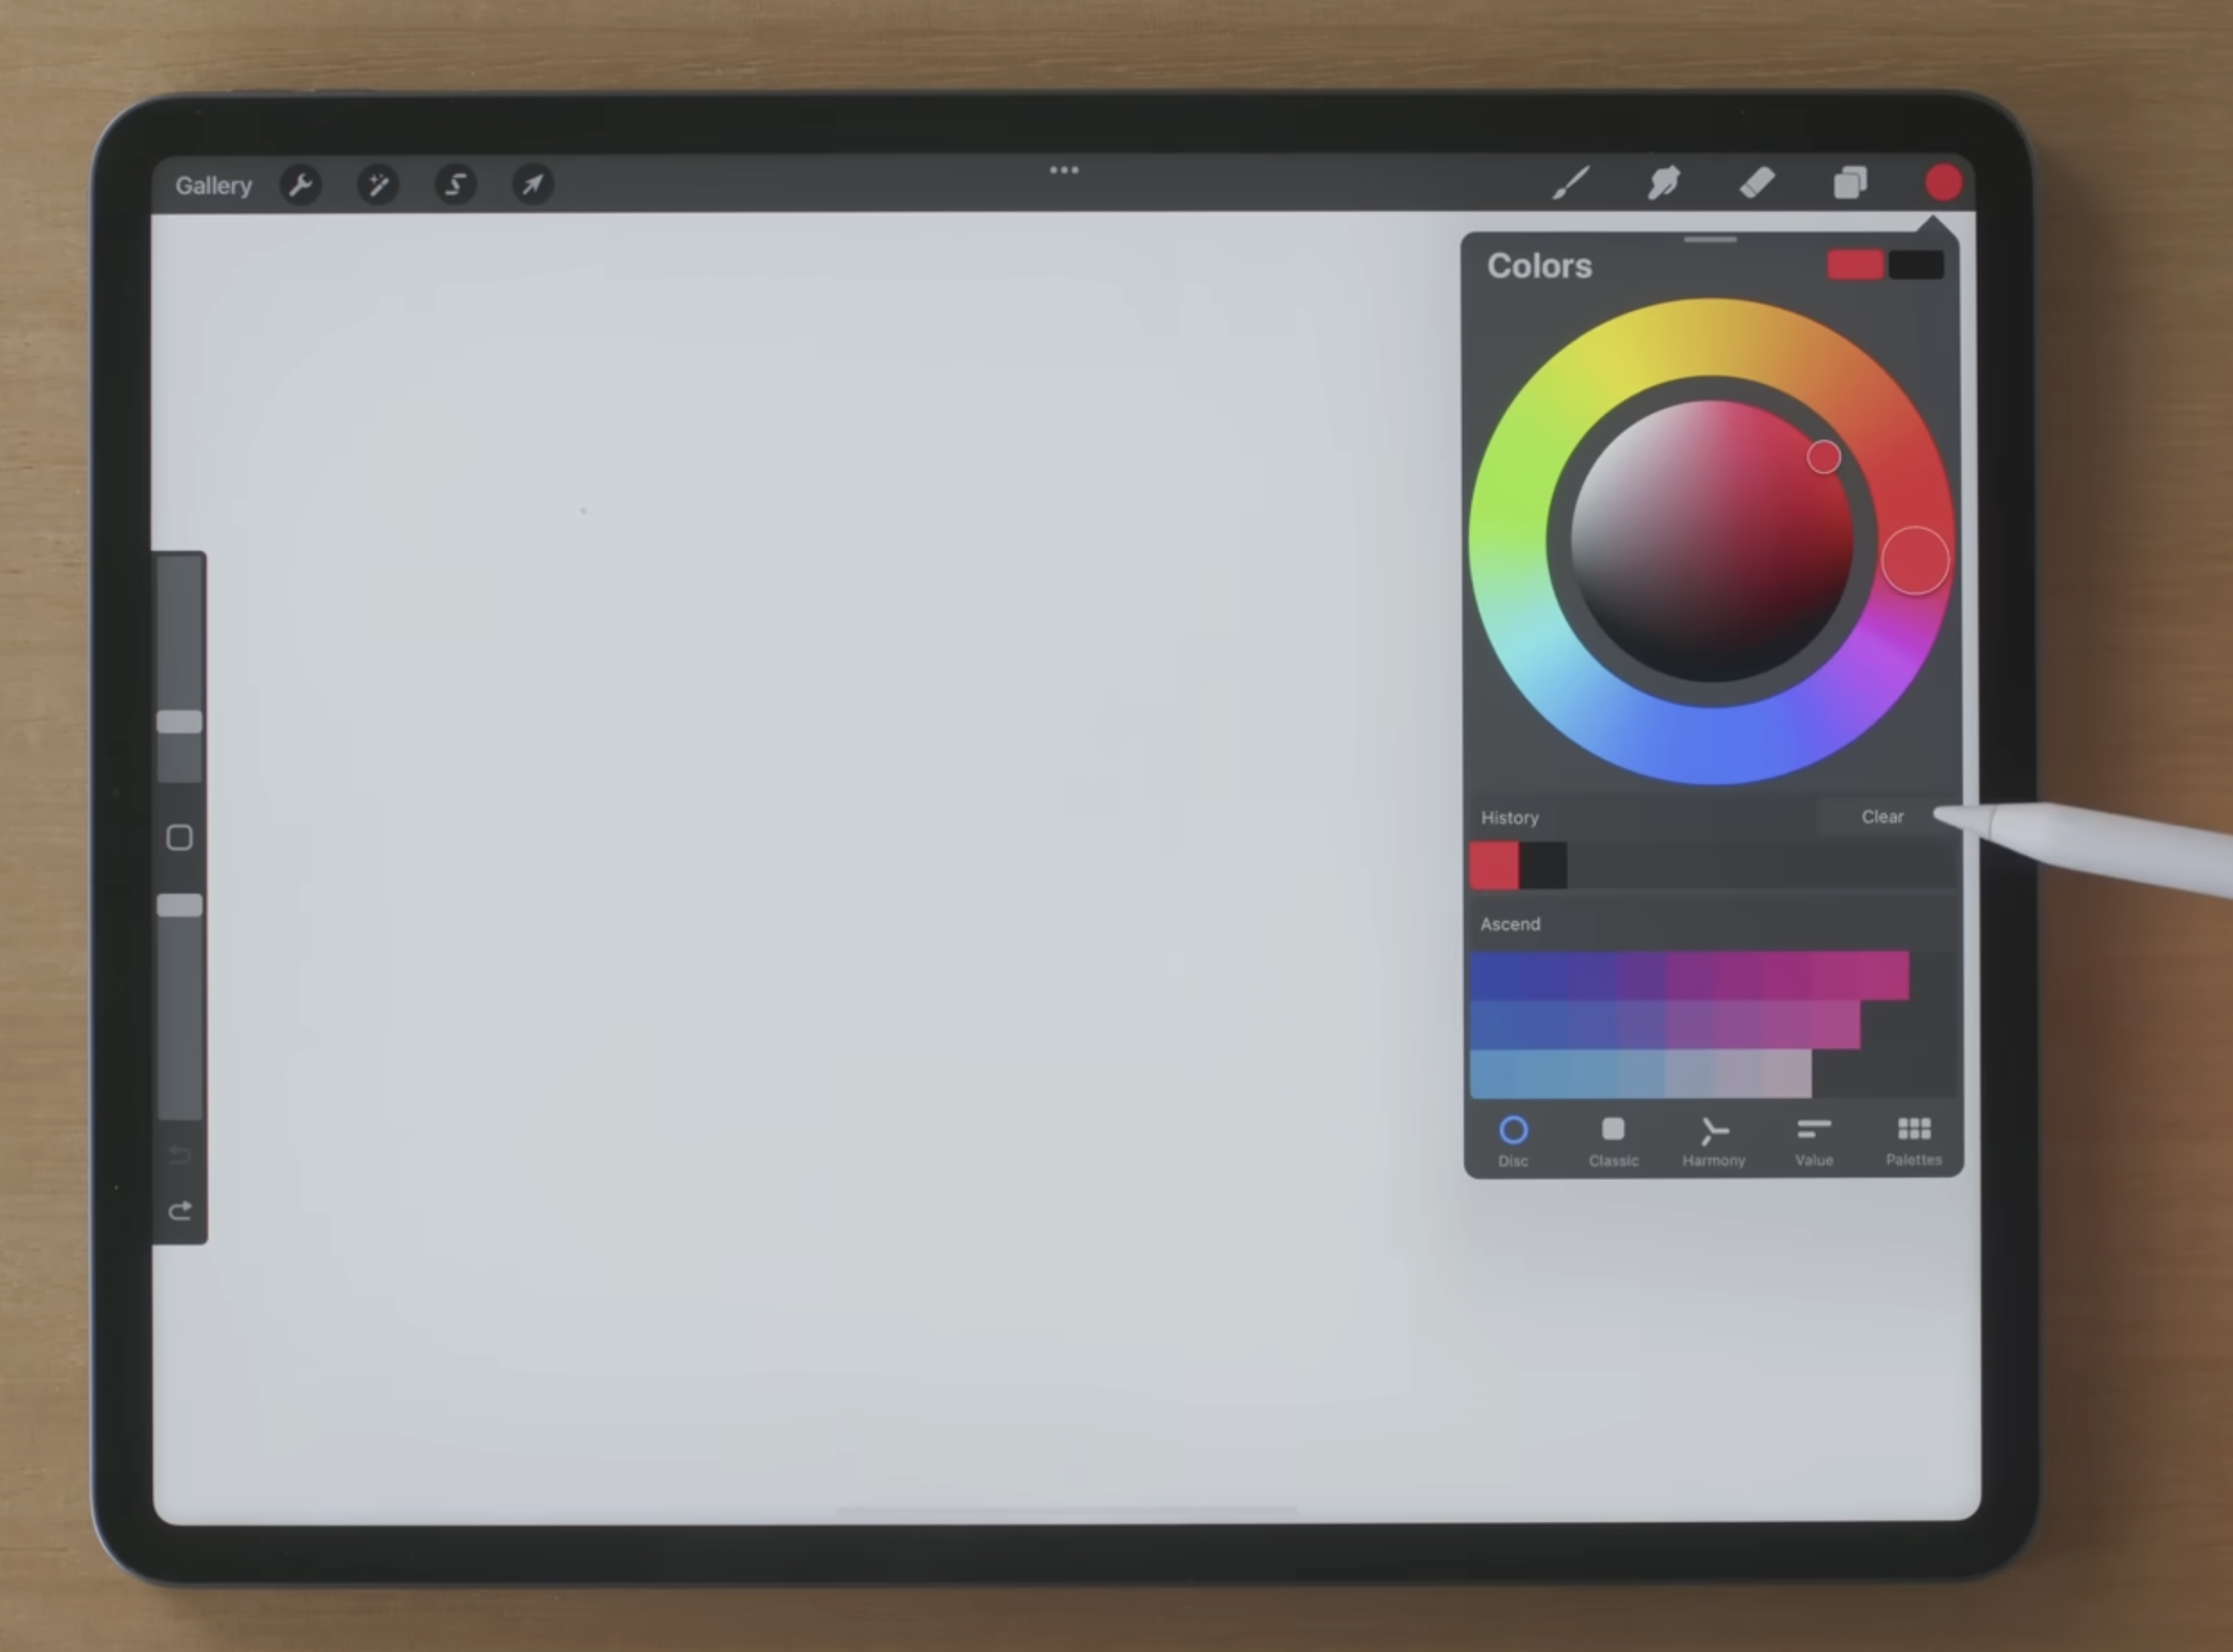
5. Color Picking and Palettes
- Tap the Color circle in the top-right corner to open options.
- Use the color picker by tapping and holding on the canvas.
- Explore different palette views: Disc, Classic, Harmony, and Value.
6. Gaussian Blur
- Tap the Adjustments icon (magic wand) in the top-left corner.
- Select Gaussian Blur from the menu.
- Drag your finger or Apple Pencil across the screen to adjust the blur strength.
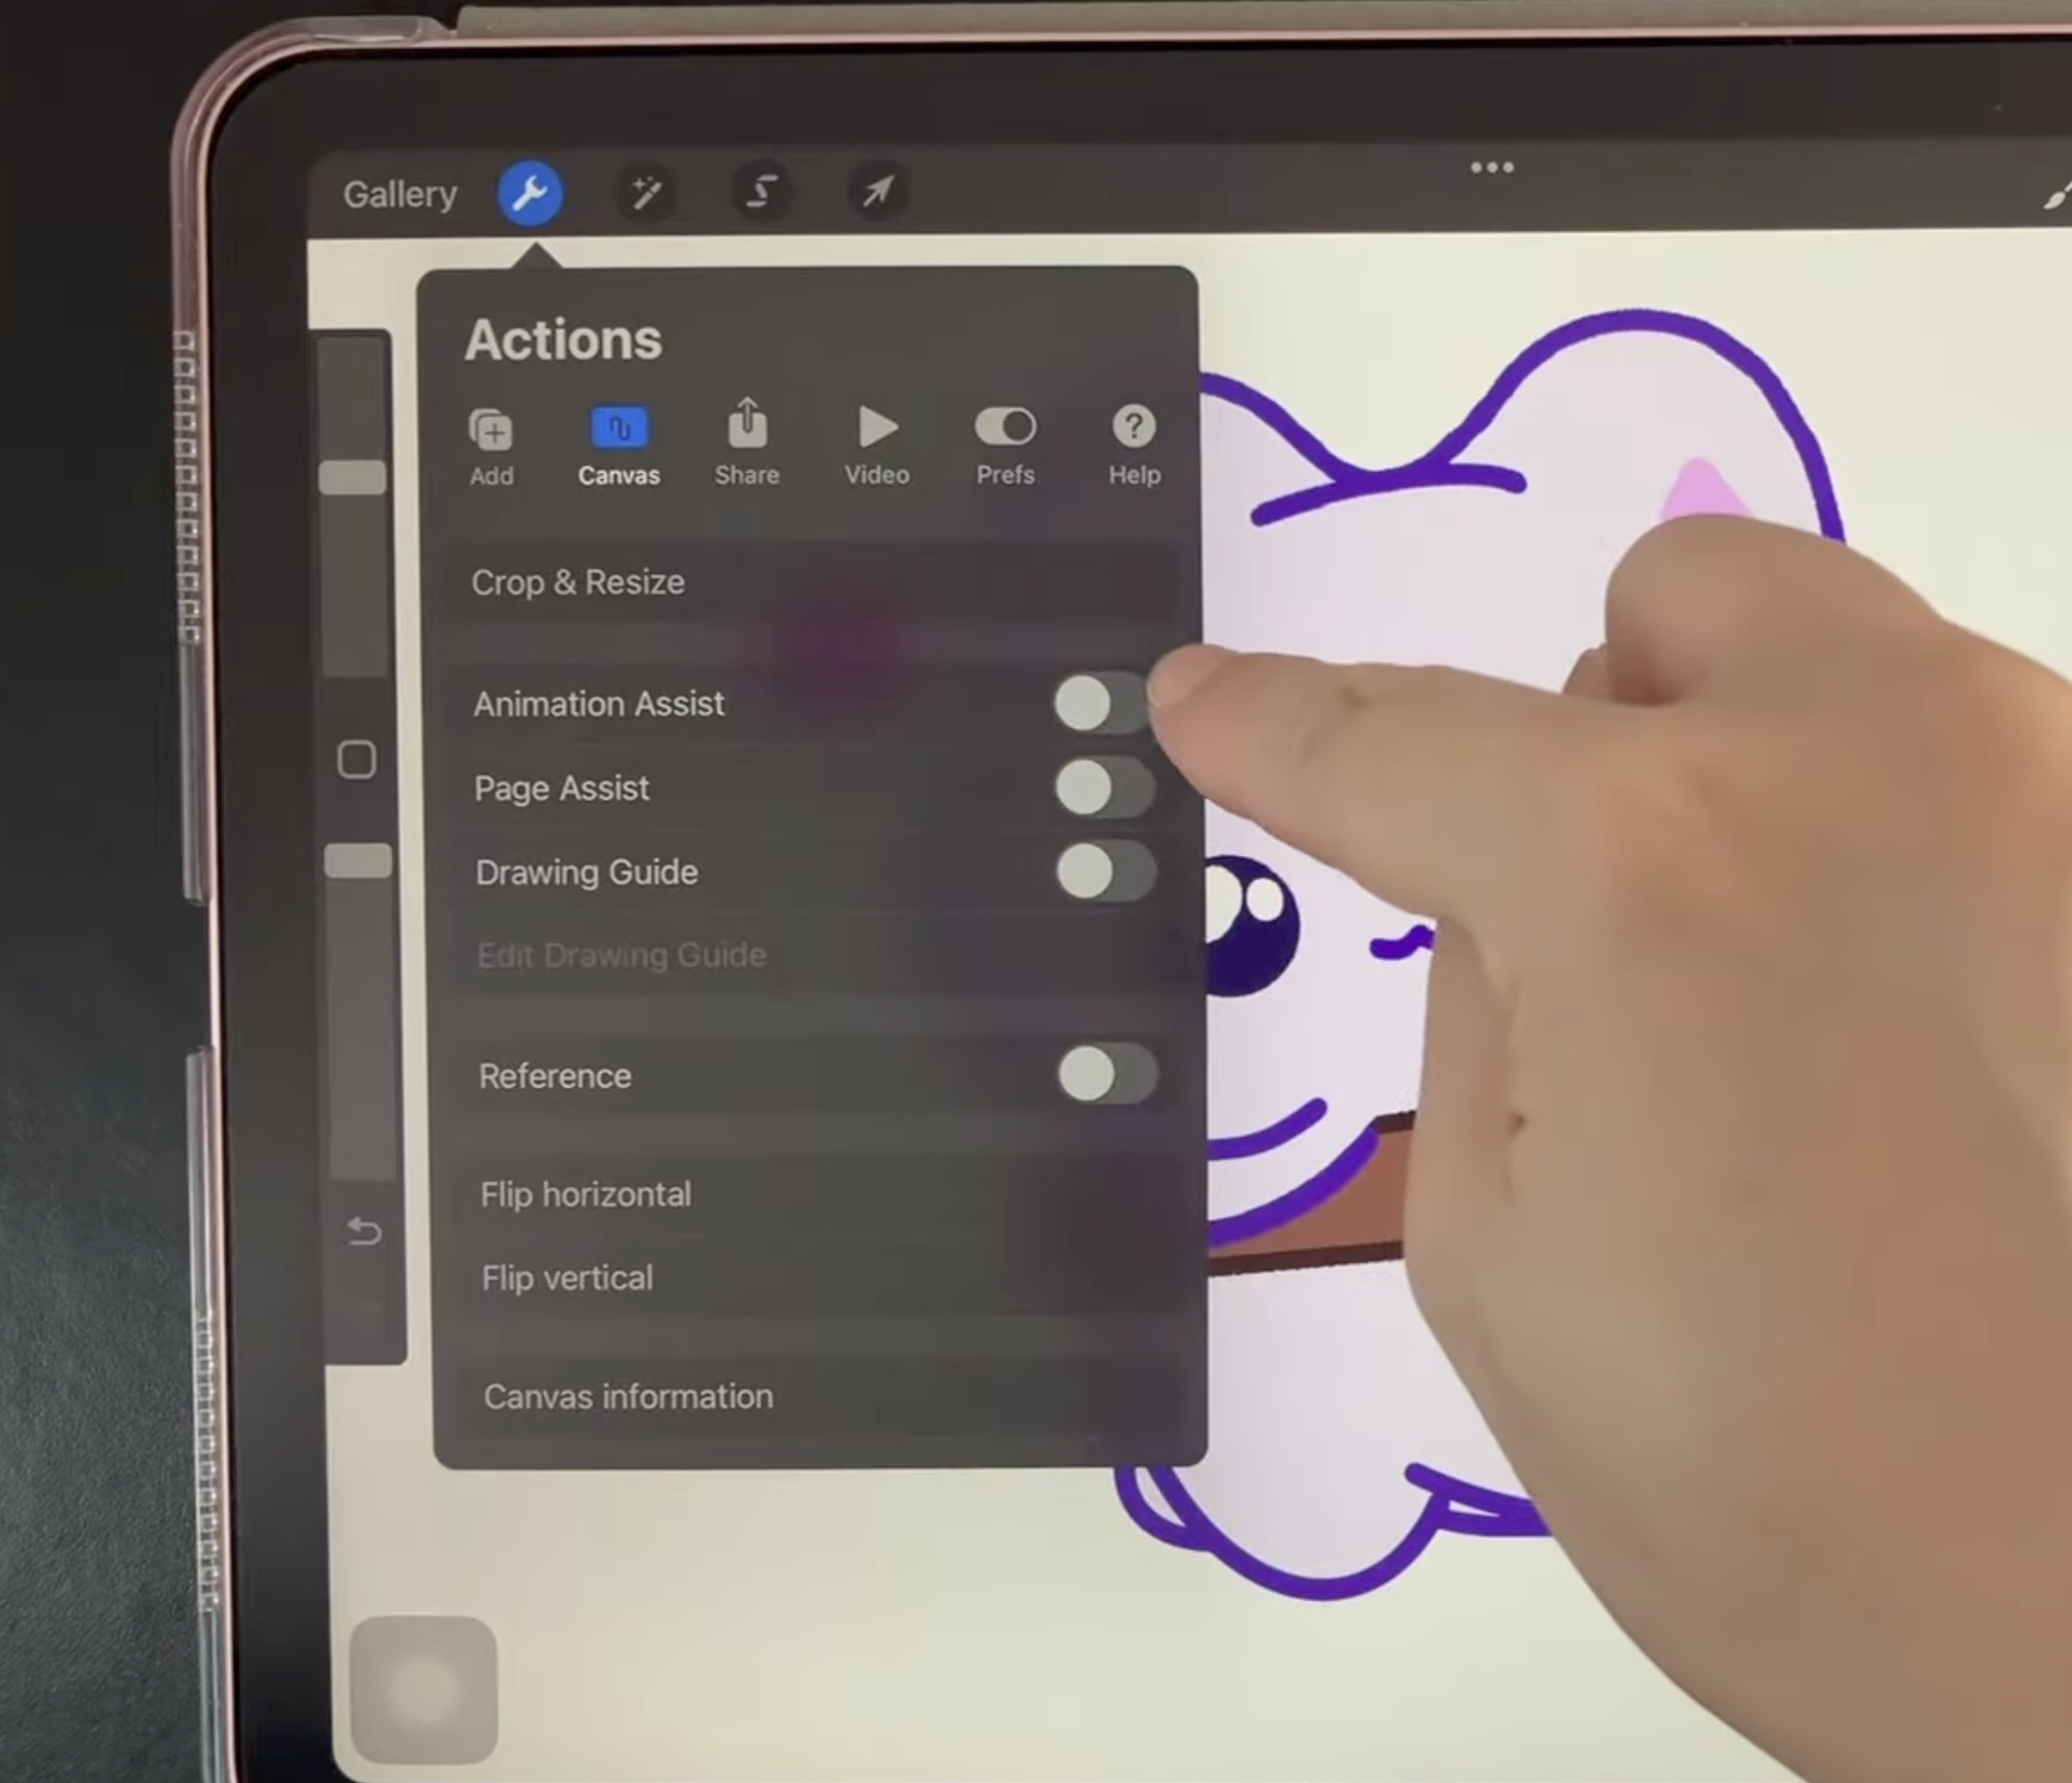
7. Animation Assist
- Tap the Actions icon (wrench) > Canvas > toggle Animation Assist on.
- Animation controls will appear at the bottom of the screen.
Onion Skins
In settings, turn on Onion Skins to see faint versions of the frames before and after the current frame.
Frame Rate
Adjusting the frame rate controls how fast the animation plays.
8. Review and Practice
- Review where each tool is located.
- Practice switching between layers, brushes, and colors.
- Experiment with Gaussian Blur and basic animation settings.